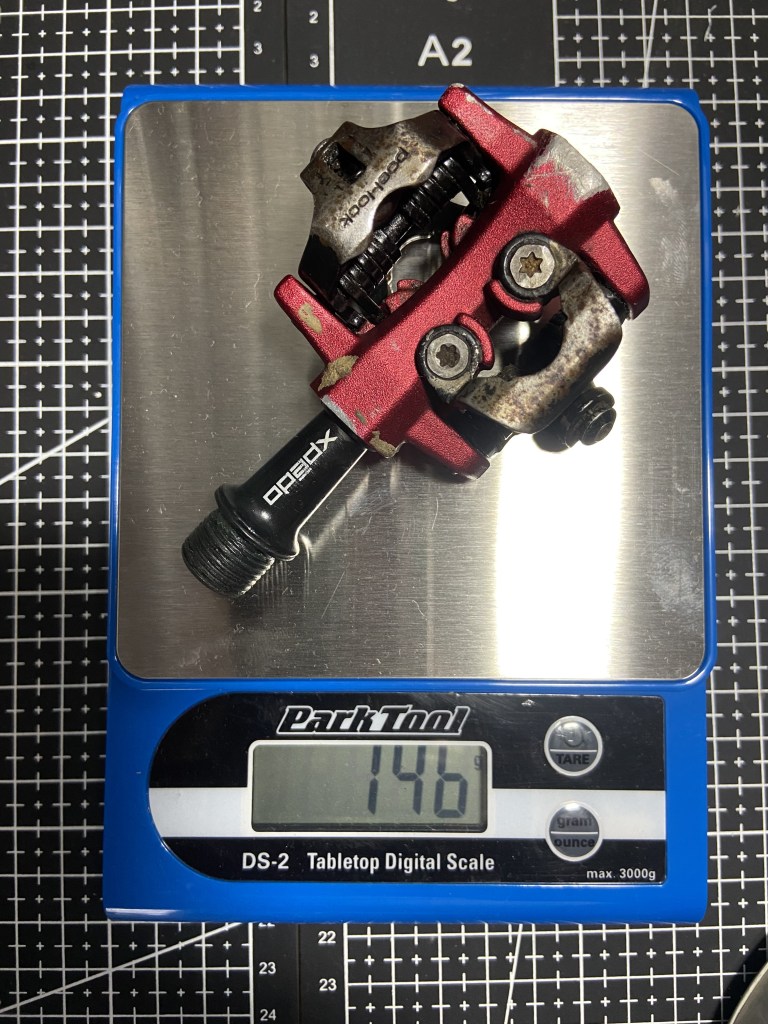
Its no secret that I’m a big fan of Xpedo pedals. Being the high-end division of the Wellgo pedal company, not only do they inherit Wellgo’s pedal-making expertise and legacy, they also find themselves positioned as one of the lightest in its class – with some of the midrange models being even lighter than XTR pedals! I’ve used their M-force pedals (3-8) all the way to their CXR line. I’ve had them on all my bikes since 2013, and they’ve proven to be reliable throughout the years – surviving rides thru deep mud, flood, and even lahar. In fact, I’ve only changed bearings on two sets earlier this year!
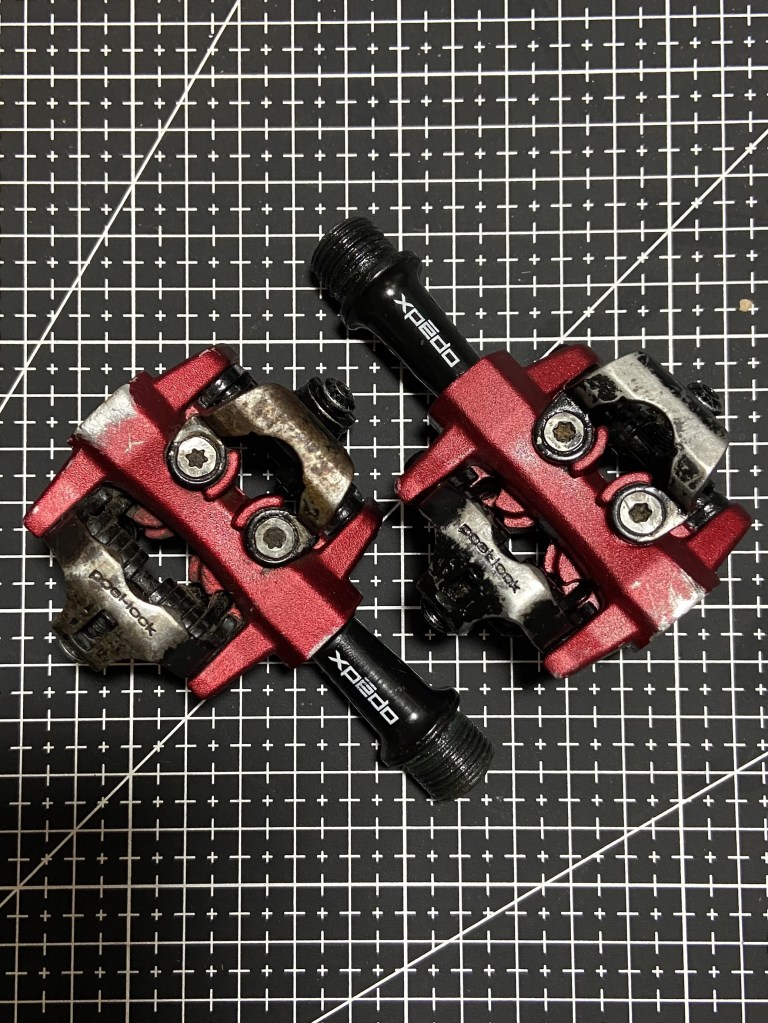
So imagine the look on my face when my wife, Erin, told me that her pedals were already seizing up, after less than 6 months of use! Just look at that thing! Damn, those look nasty AF!!!
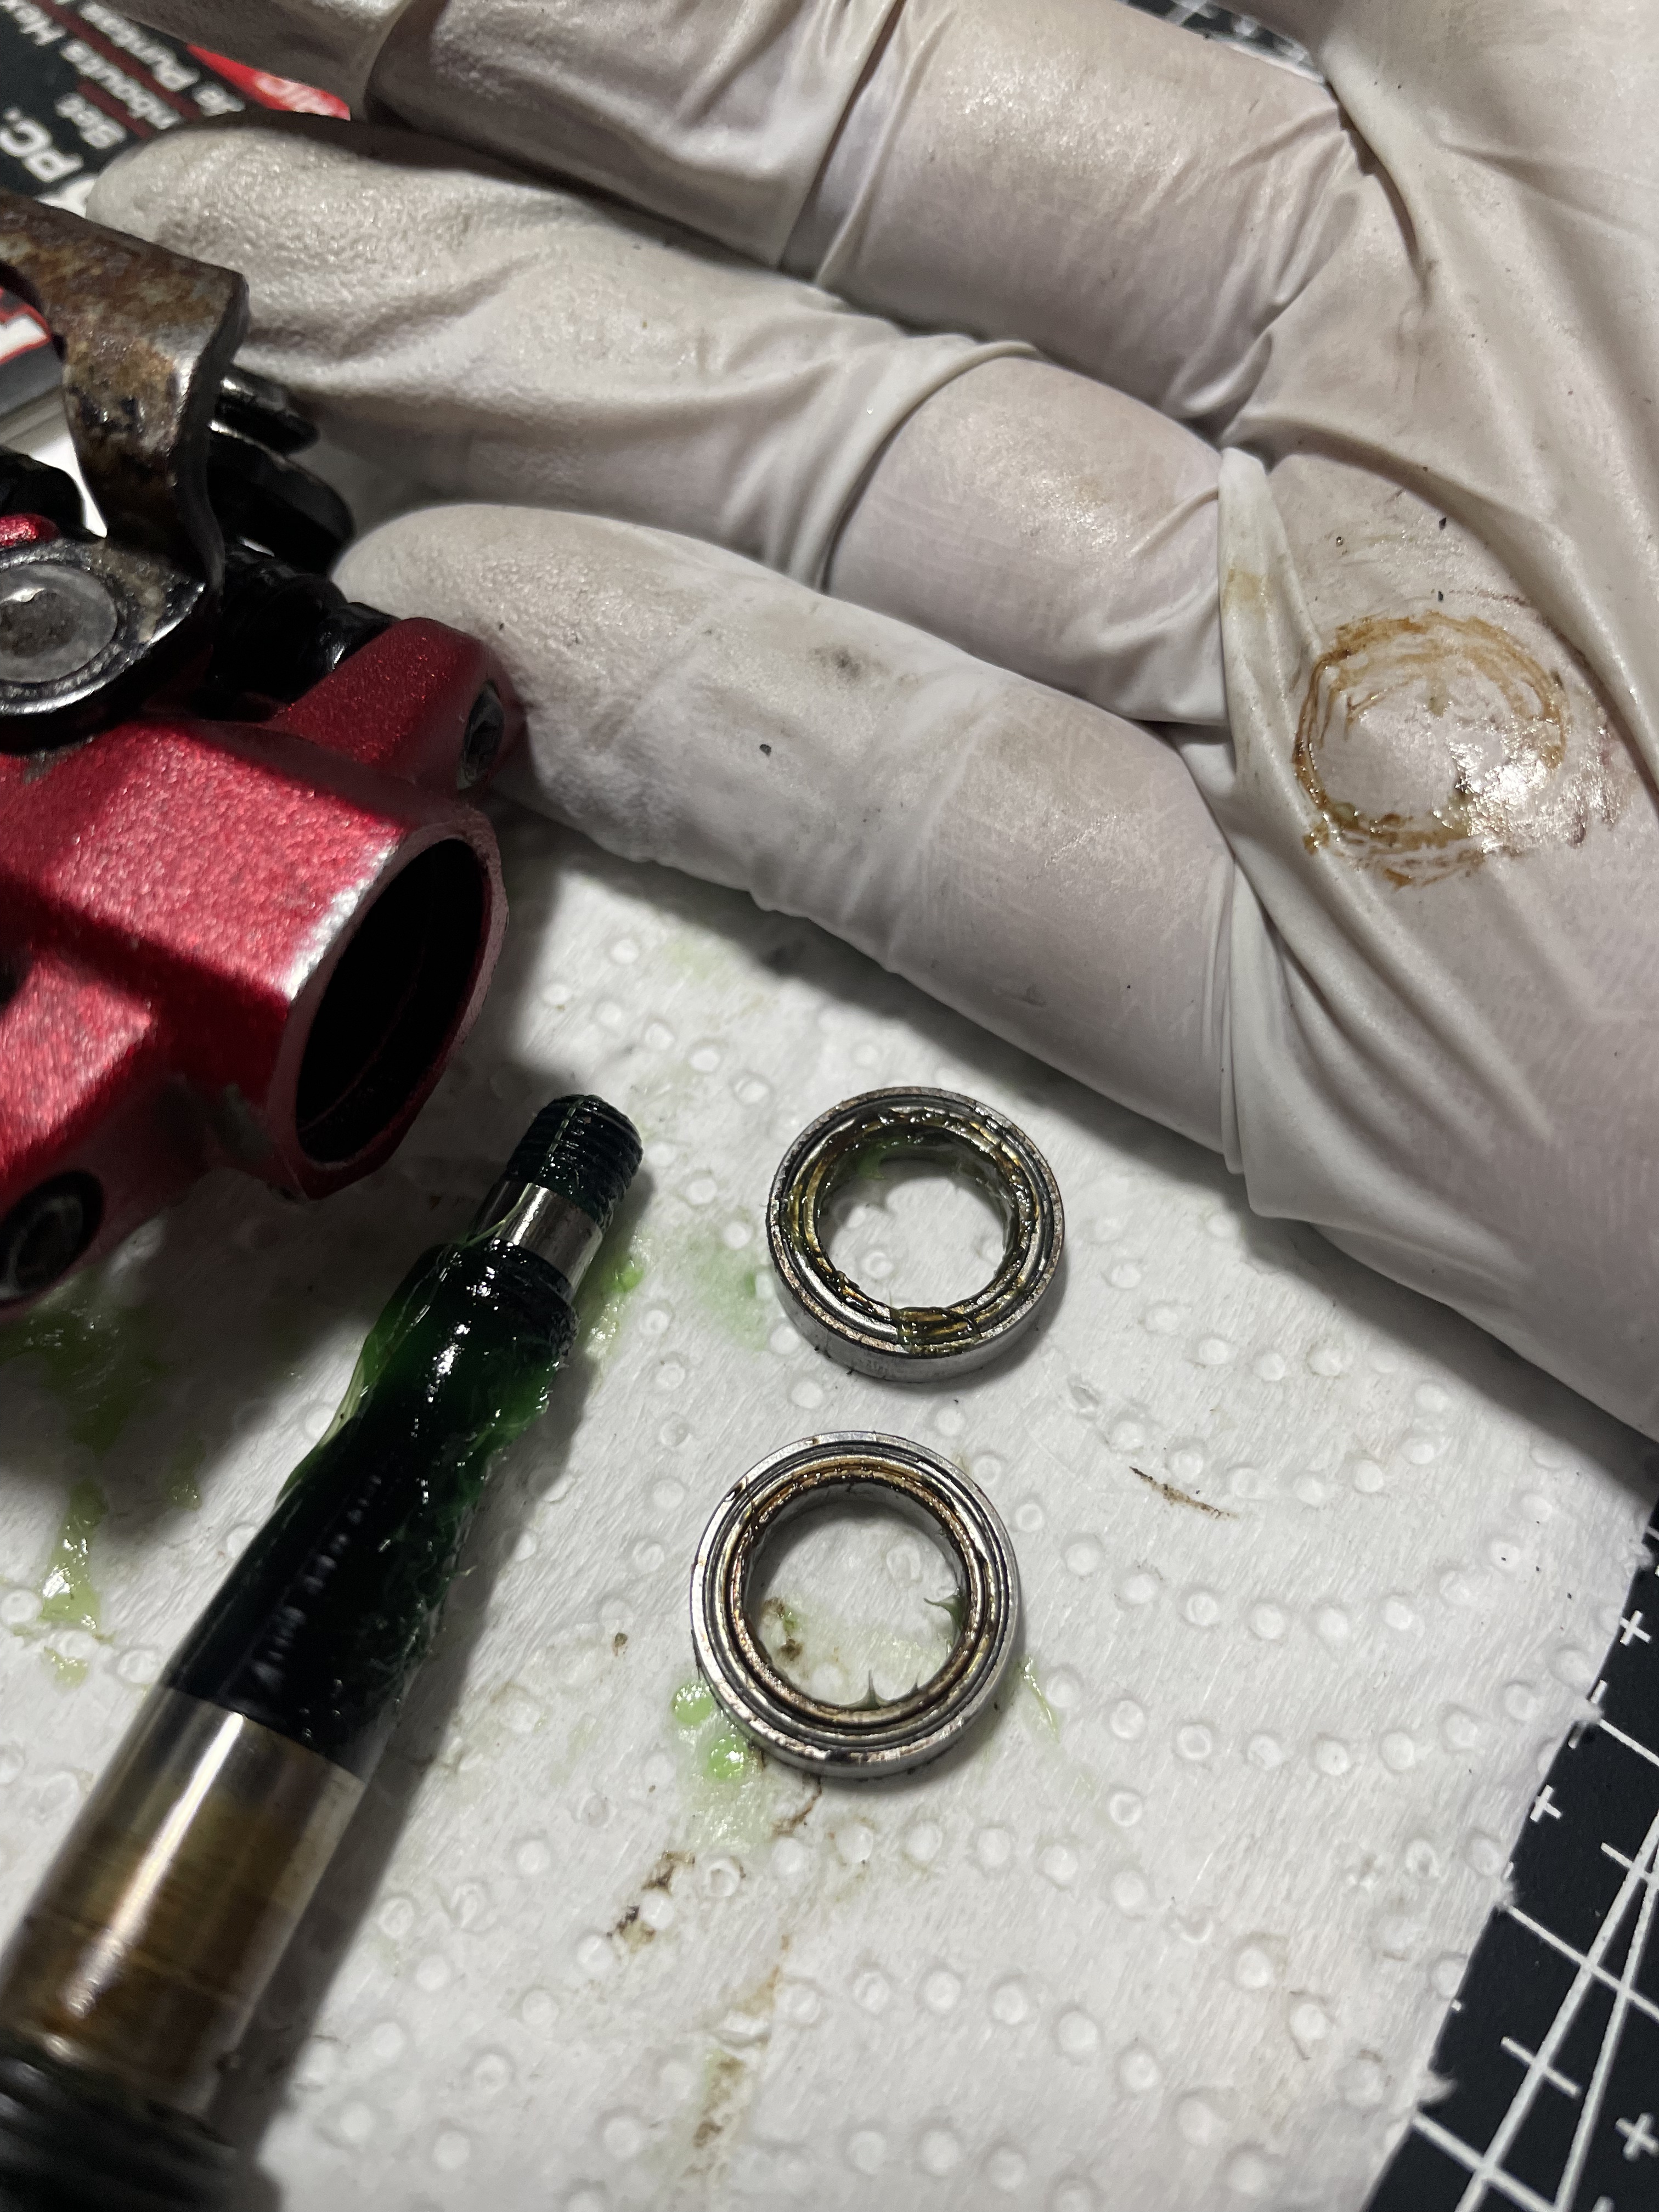
Anyway, having previously serviced my older M3 pedals with their $25 bearing replacement kit, it just didn’t make sense to go this route again — especially if I’d have to replace the bearings constantly. A quick examination of their stock and replacement bearings affirmed the decision. They aren’t proprietary, and they chose to use shielded bearings — something which may not be the right type for a rider such as Erin.
So a quick background:
- Shielded bearings, in a nutshell, are “faster” since they have no contact with the inner ring. However, they are prone to moisture and grit. You can check the bearing type on the seals itself – and/or to a lesser extent, laser printed on the outer race of the said bearing. Shielded bearings usually come designated as Z, 2Z,N or NR as a suffix to the bearing code)
- Sealed bearings, on the other hand, are much sturdier as they seal in the lubrication/grease while keeping grit and moisture out. They, however, are said to be “slower” because there is friction between the seals and the inner/outer races. It’s designated as RS or 2RS as a suffix to the bearing code.
- And then there are bearings that use Non-Contact seals, which have the speed benefits of shielded bearings, but with added protection against moisture and fine grit (they come mainly coded RZ/2RZ, V/VV as a suffix to the bearing code)
Ok sure, so how does this help us get over that $25 hump every single time these replacement bearings seize up?
Well, A) we now know that shielded bearings will not hold up whenever Erin goes to town on them; and B) since we have a sample of the bearings (both old and new), we can now use a vernier caliper to check and see if we can get the same spec’d bearings (or something better) for much less.
Its a simple process really… and the interwebs makes it much simpler. How you ask? Well, you just need to get 3 measurements with your vernier caliper — the inner diameter, the outer diameter, & the bearing height…. Then you just input those numbers on your browser and check the bearing code that corresponds with those specs. And that’s basically it!
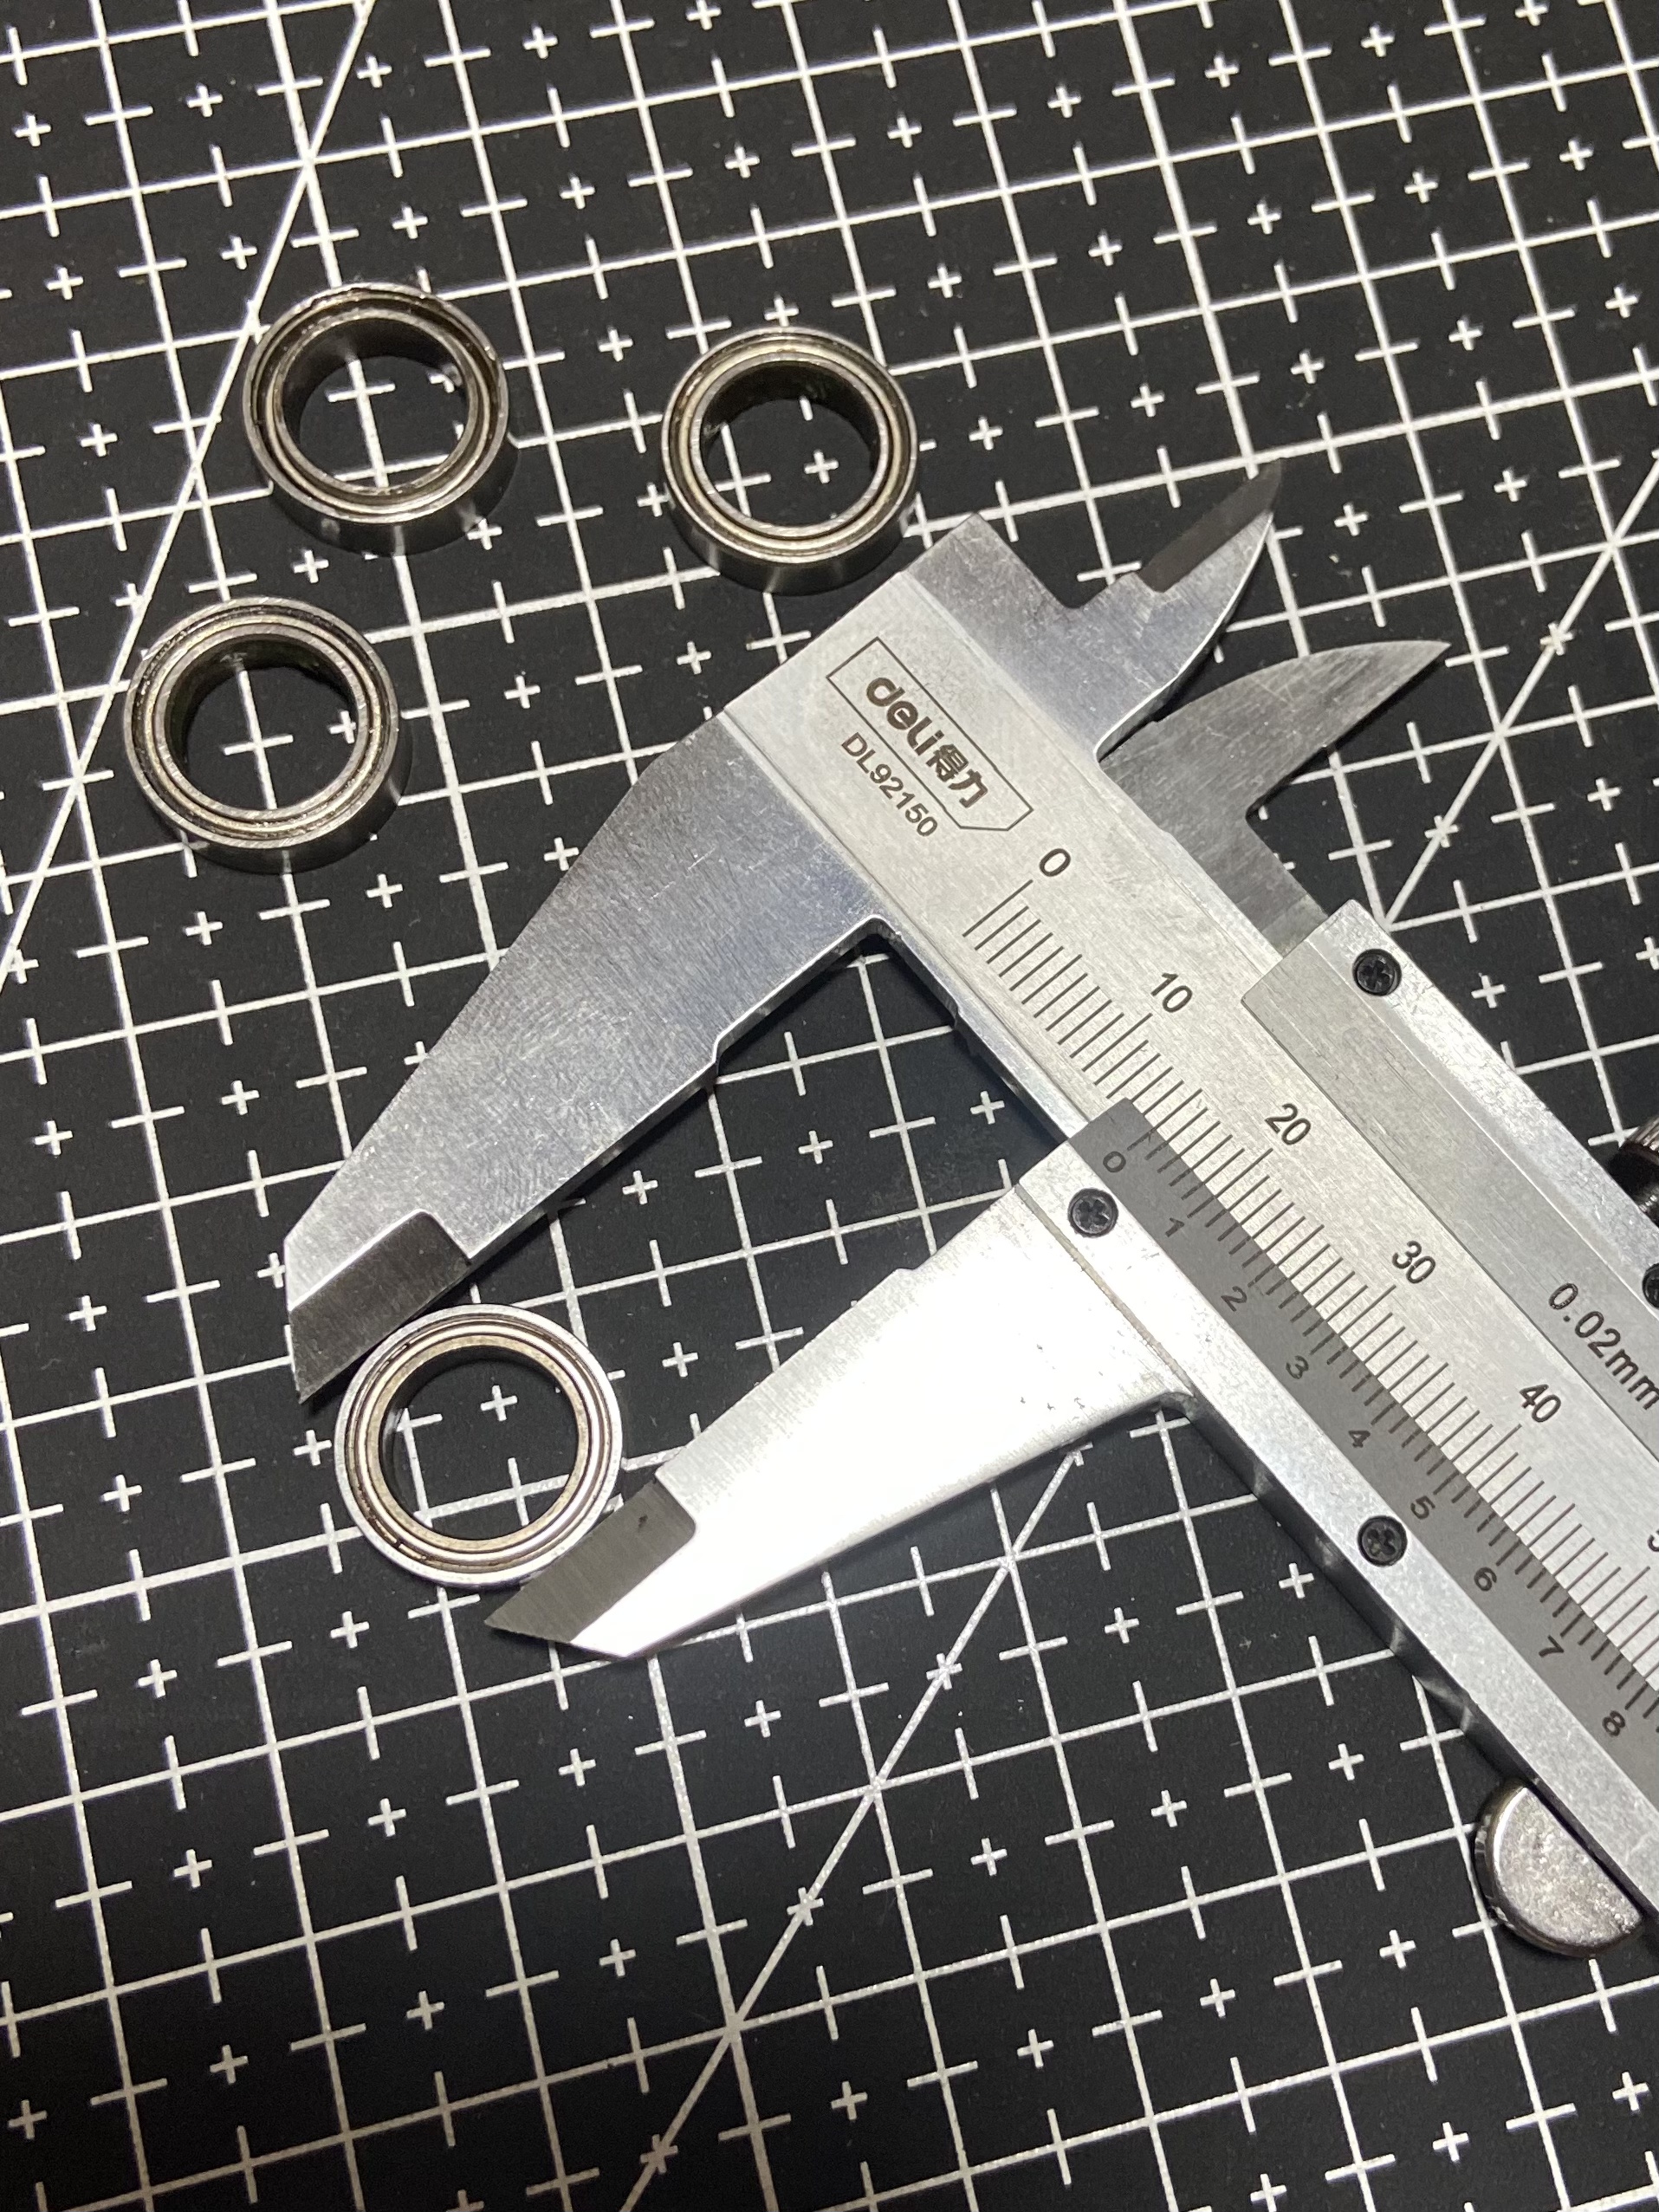
(So the specs for the bigger cartridge bearing of the pedal is 10x15x4mm, while the smaller one measures 6x13x5mm. After inputing these on google, it will produce a 3-5 number code which basically is the universal code for that type of bearing!)
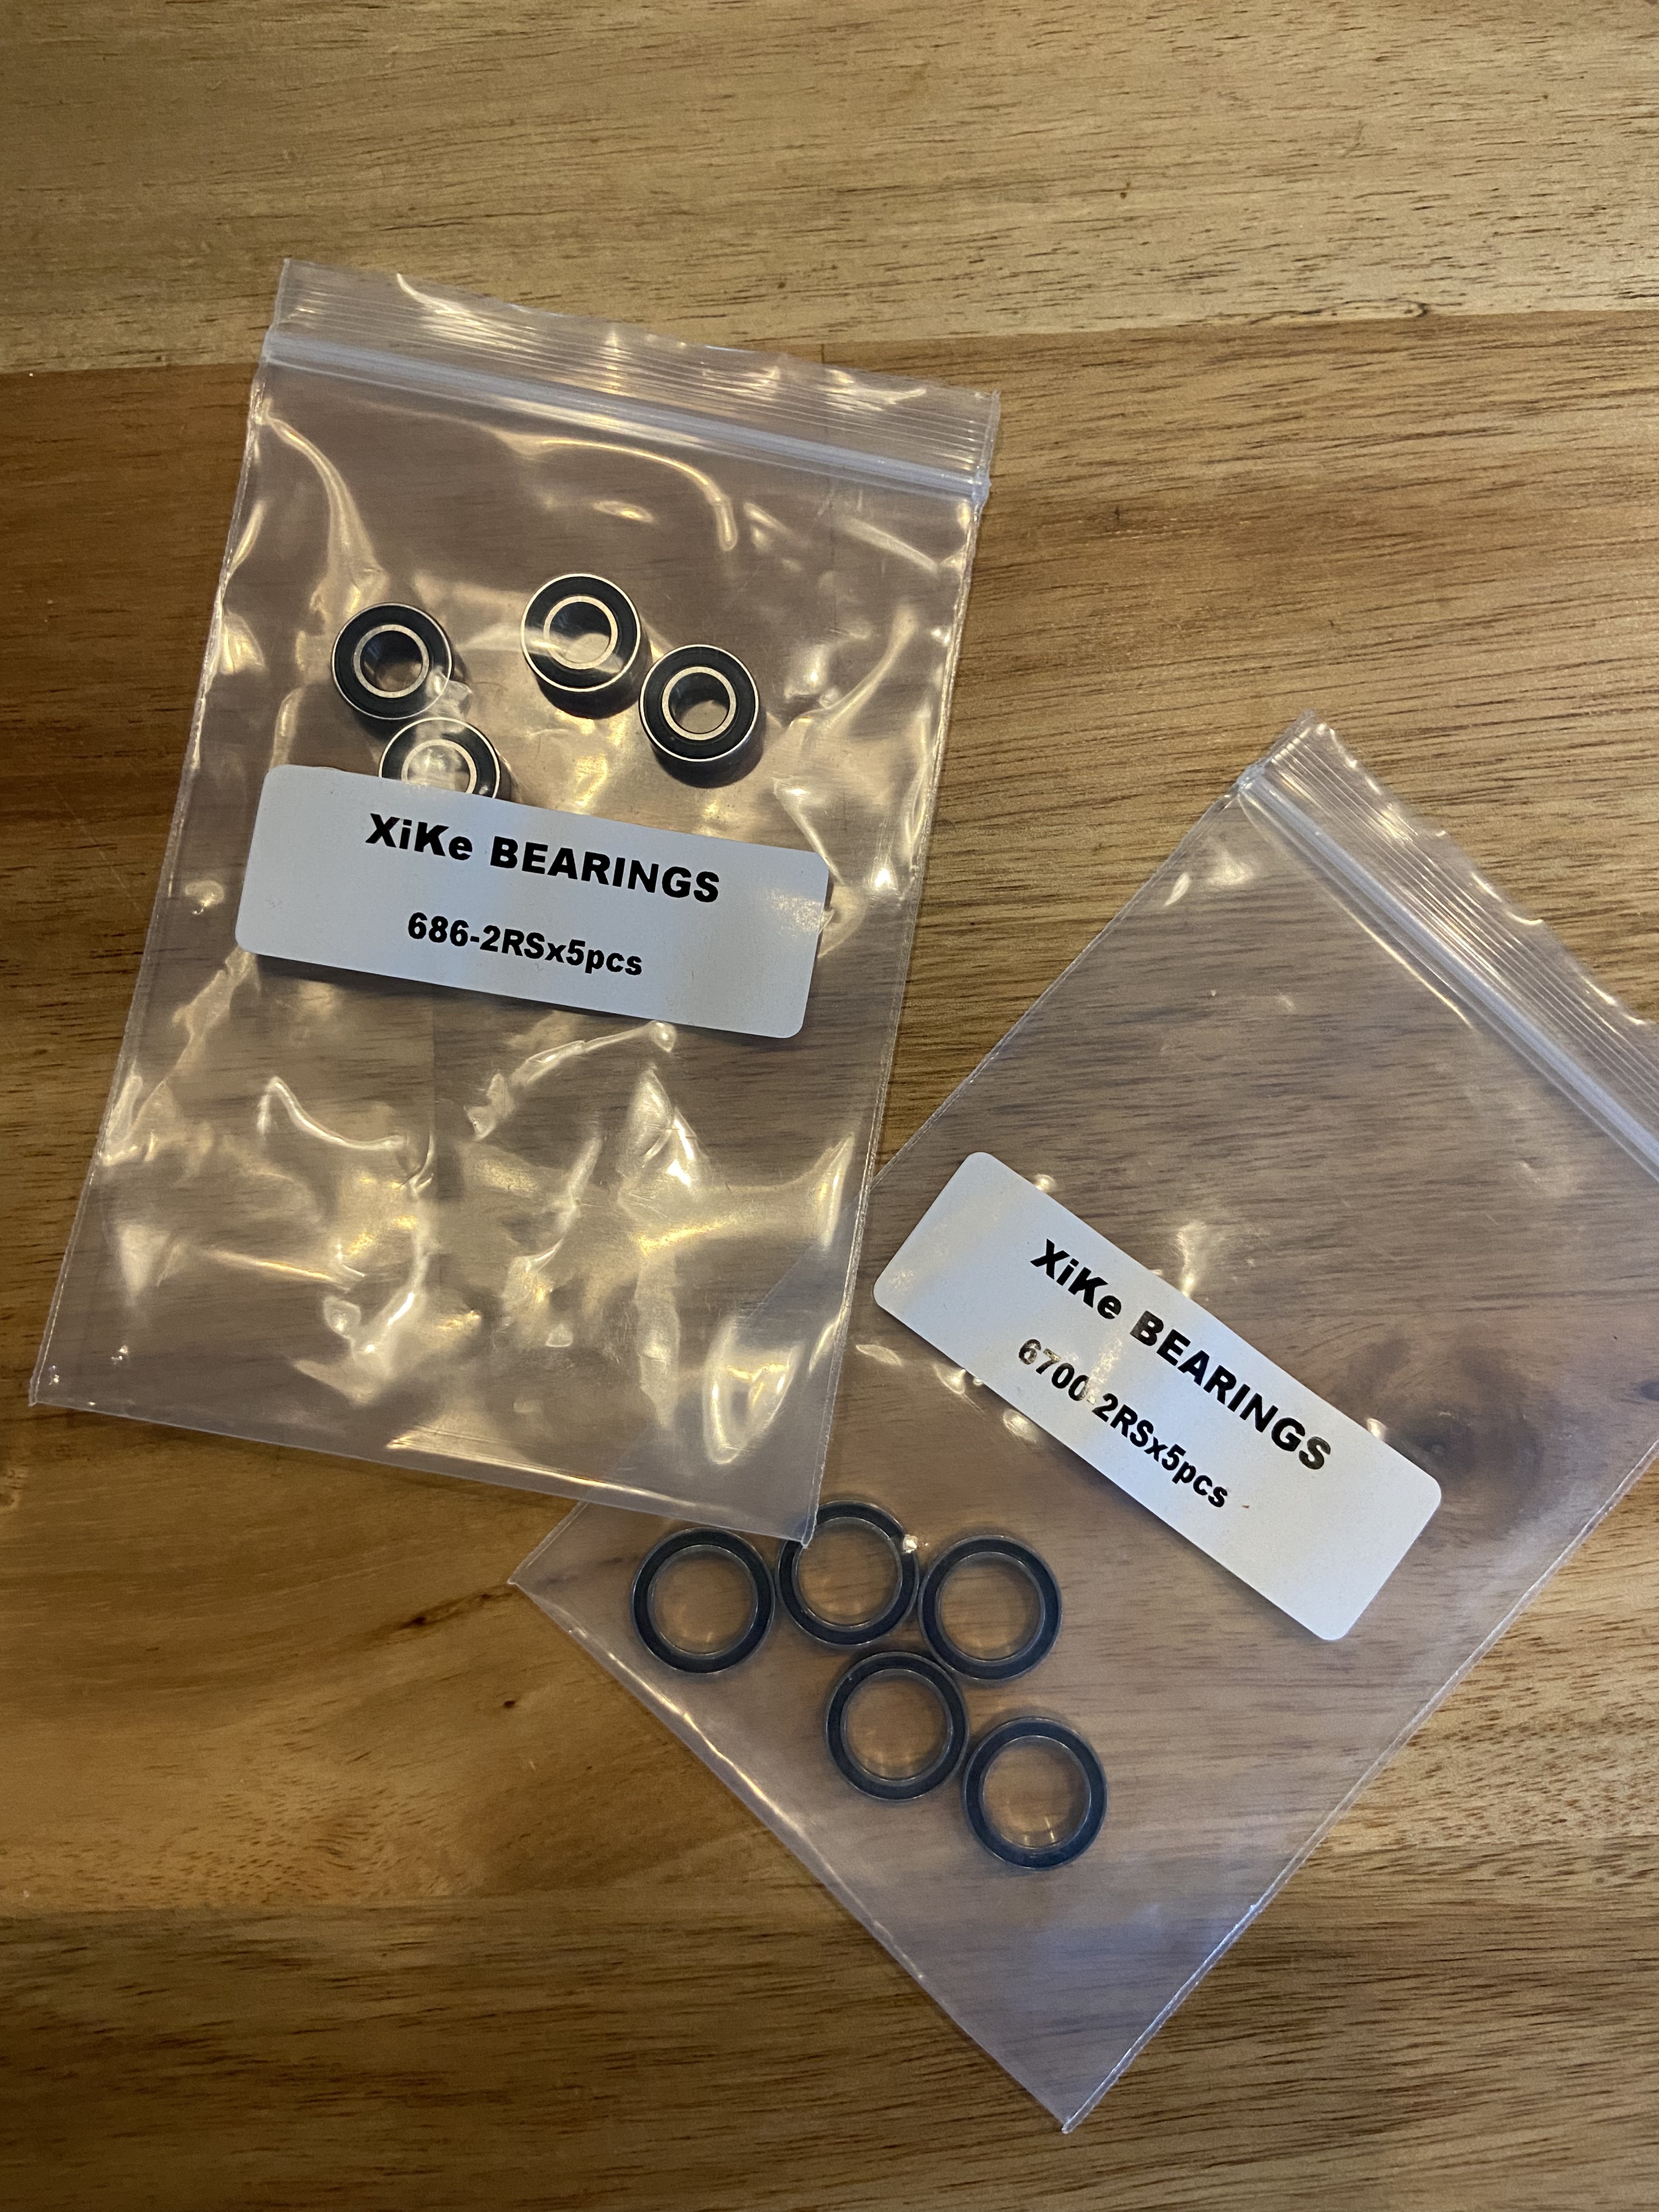
Ok, so now you have the bearing code. From here you just combine it with any of the bearing suffix codes that I talked about above, in my case I’d rather get more protection – so a minimum of a 2RS type of bearing. That final code > 10x15x4 > 6700 > 6700-2RS and 6x13x5 > 686 > 686-2RS is what you mention to your nearest bearing center (and there is at least one in every city!)… or if you’re just plain lazy, go on Lazada. They got all kinds of shit on there, even odd sized bearings for pedals such as these!
It’s so easy to get caught up with what the market offers or shoves down our throats, that we sometimes fail to realize that most brands don’t use proprietary components within their products — which means with a little research and know-how, you can use tools such as this to get the most out of your money.
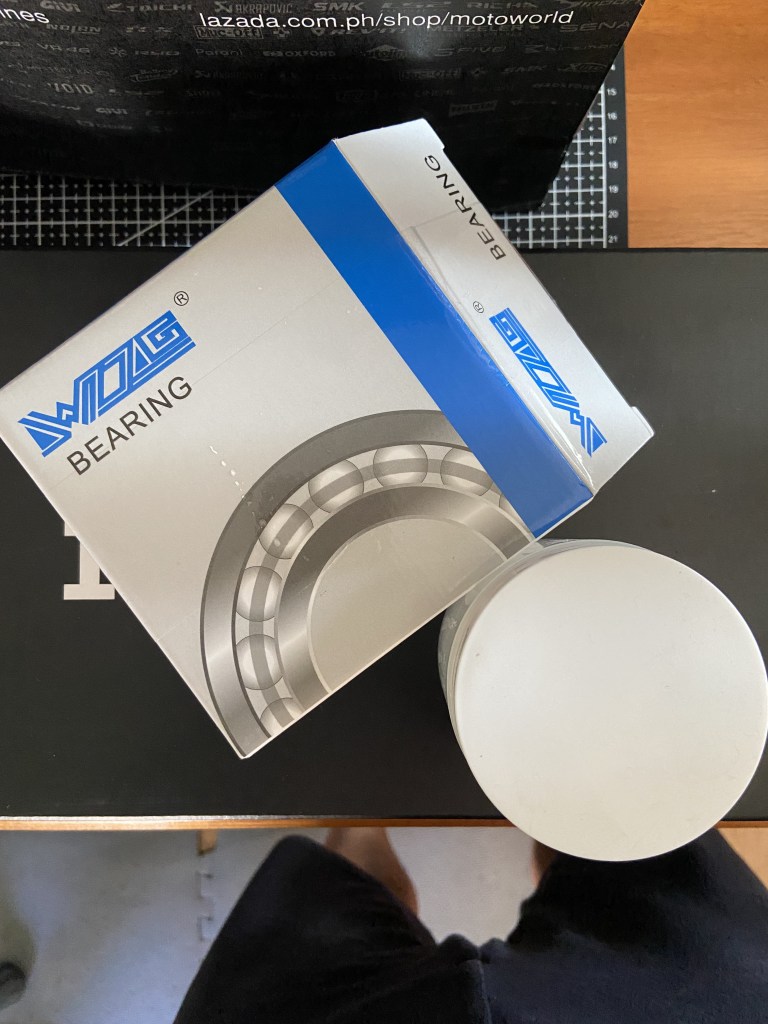
Anyway, we got three sets from Lazada to try out(each set having 5pcs each), and one set of SKFs from the nearest bearing center as our “control” — all for around 1000php (<25 bucks!). You’re probably wondering why I’m not getting any ABEC rated bearings – and that’s only because the rebuild kit seems to use generic bearings… and for the sake of science, I wanna see how these hold up against those. I mean c’mon, it’s 1000php for a shitload of bearings… Erin can ride in and through Pasig River everyday if she wants to now! We got tons of spares… for dirt cheap!!!
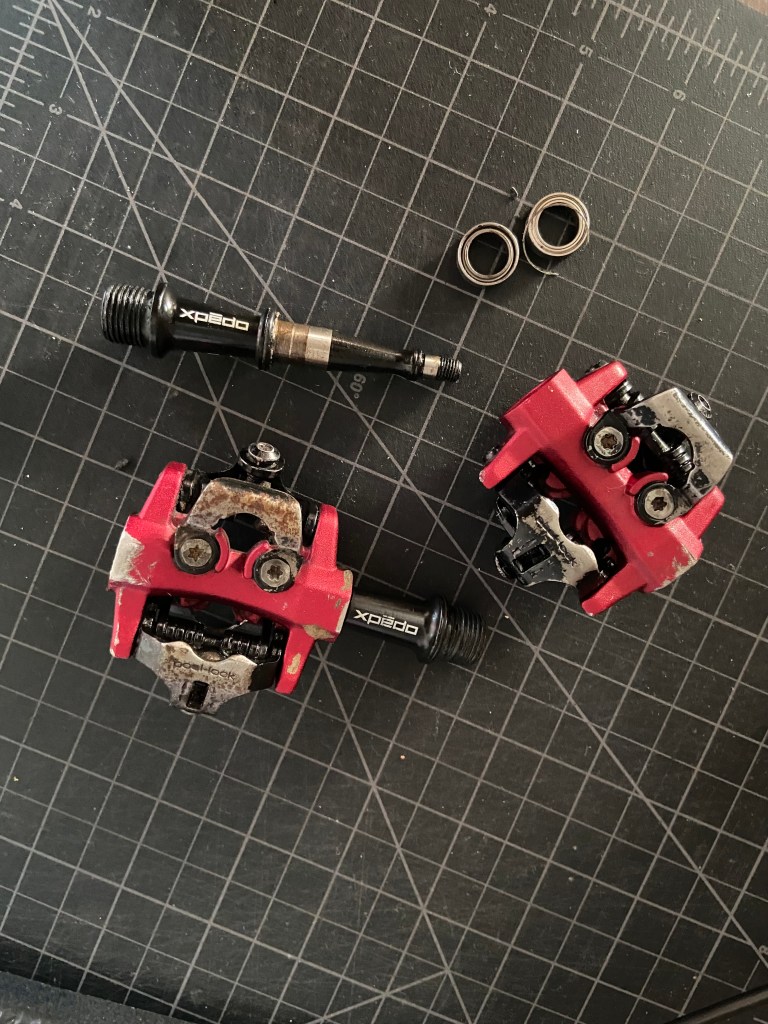
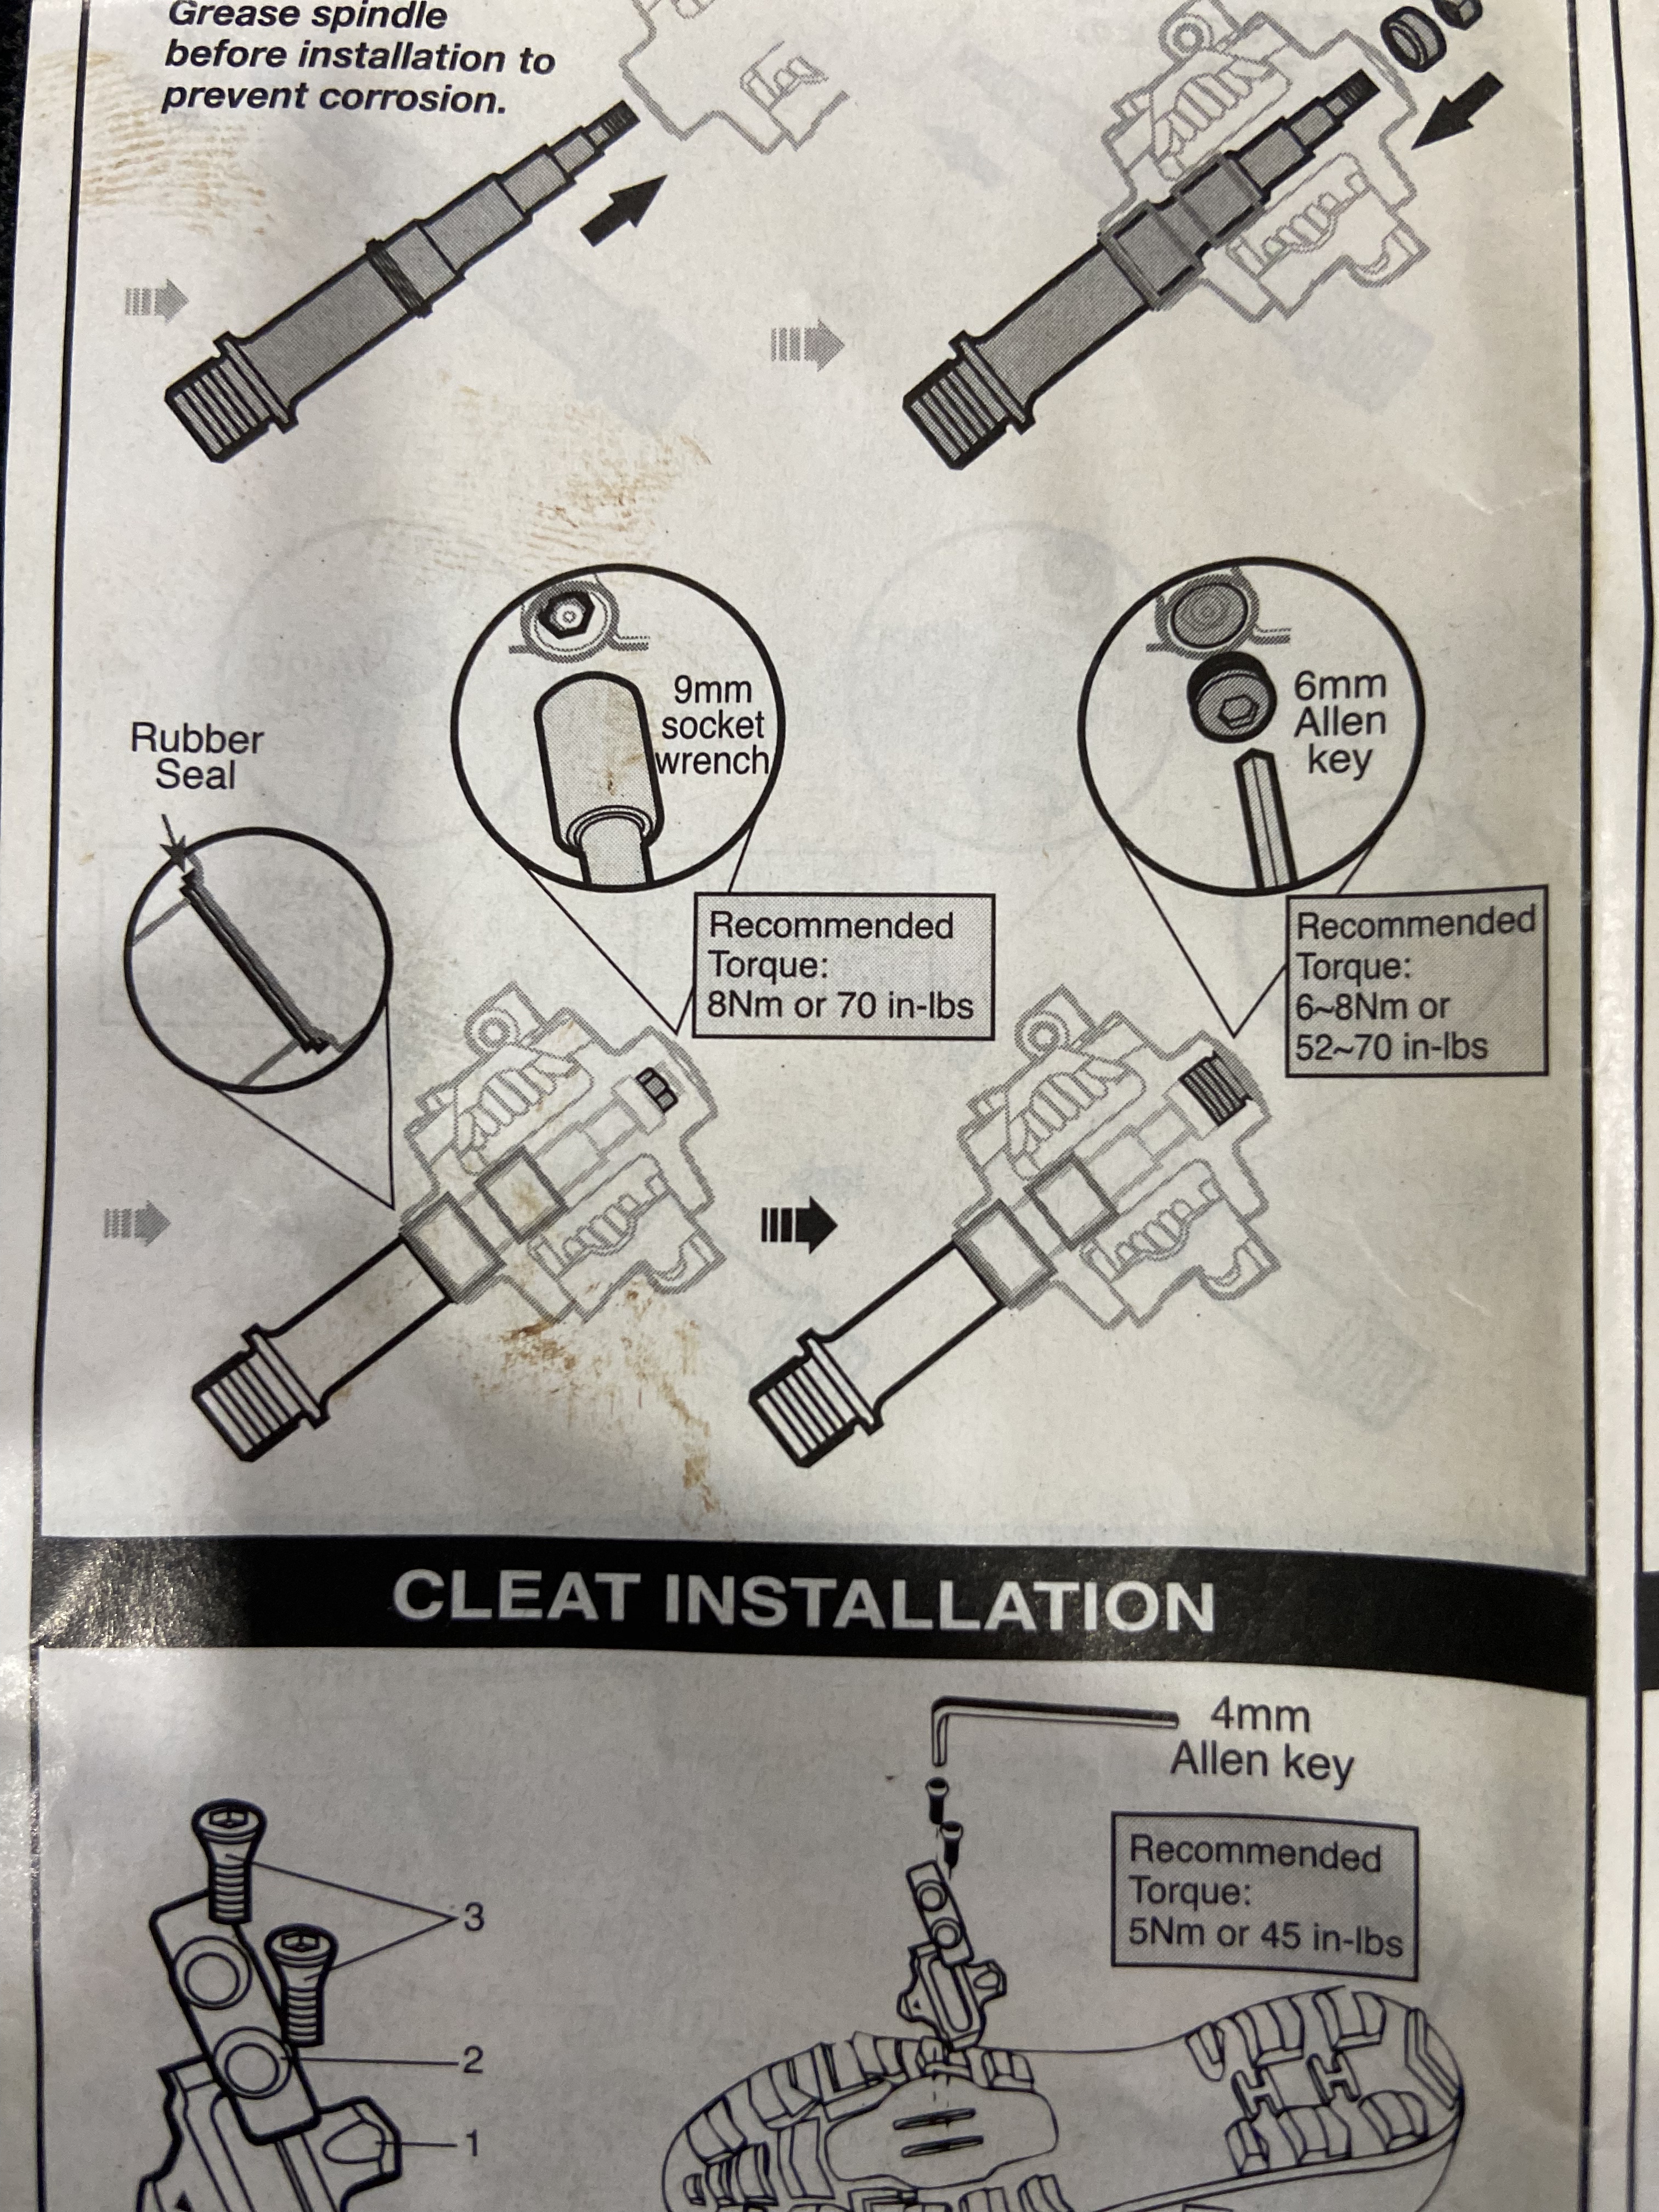
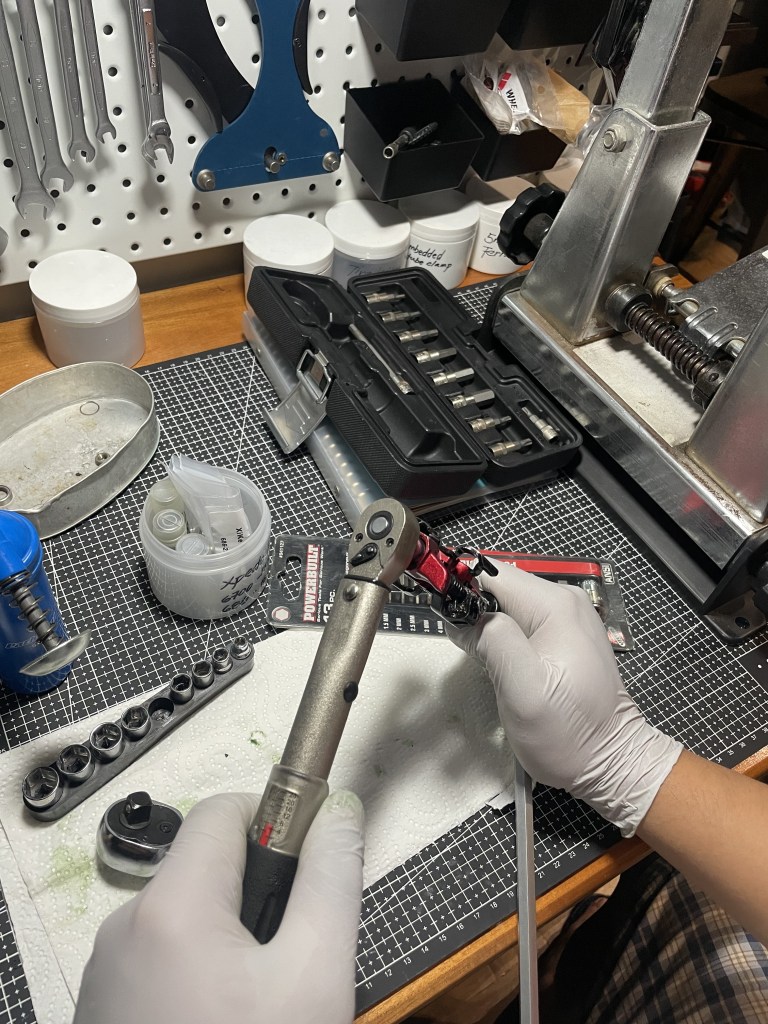
Ok, so I failed to mention how to remove these bearings. These Xpedo CXR pedals come with 2 lock nuts – one covers the other, with the inner nut mainly holding the axle in place. I kept the old instruction sheet for the rebuild kit, but if you’re the type that doesn’t read or throws manuals away, a quick search online yields info on the socket and allen size to use (9mm socket & 6mm allen) and how much torque to apply when putting it all back together again (8nm for the inner, 6-8nm for the outer).
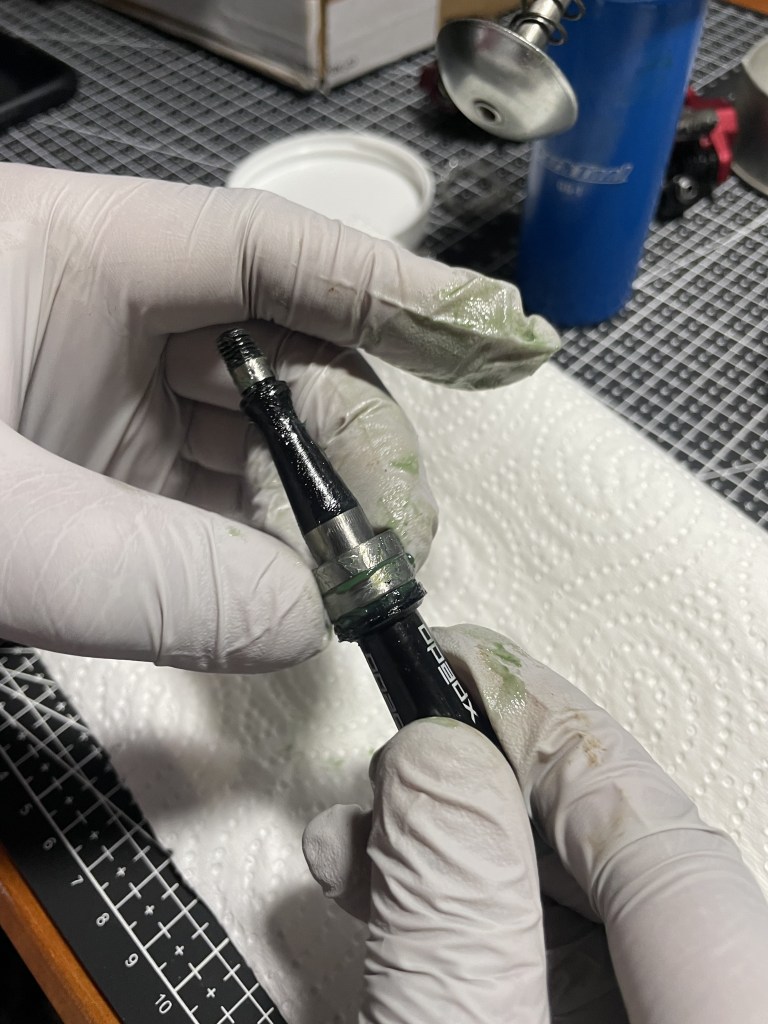
Now if you’re just as unlucky as I am in these situations, some bearings will seize in the most unlikely of places (in this case on the axle itself — I KNOW RIGHT?!?) and tapping them out will be a bit difficult, given that the system uses two stacked bearings on one end — but I figured you can tap these out evenly with the use of some cup and cone spanners since they’re thin enough to fit between the axle flange and the bearing. Don’t go all caveman style and barbarically tap them out with a flat head screwdriver or the like. I mean you can, but take your time and tap them out slowly and evenly so you don’t end up scratching the axle.
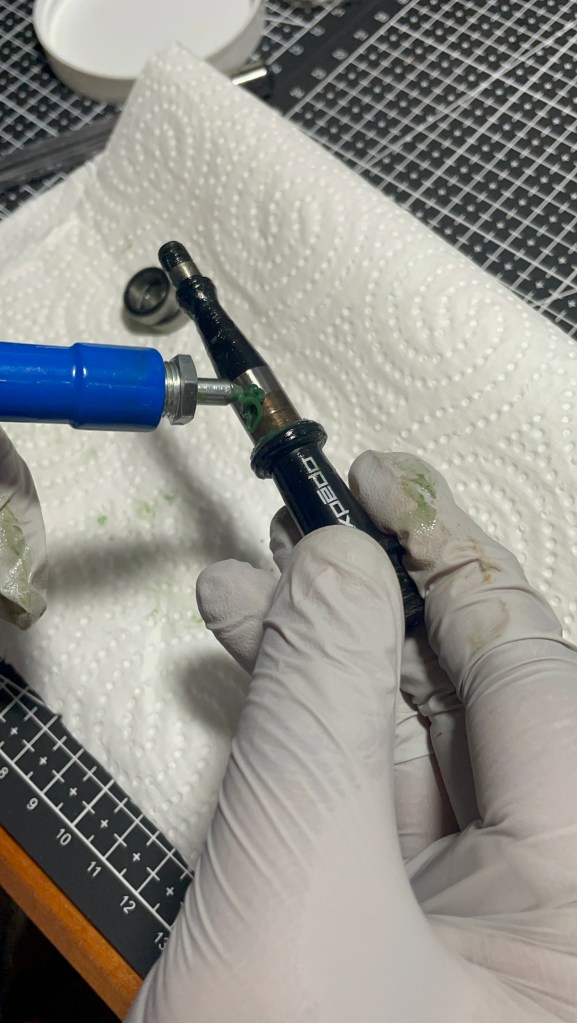
After that, assembly was a breeze. I cleaned and inspected the axles, greased them up, and slid on the new bearings. I ran out of Motorex 2000 but Park’s PPL grease, though basic, is sufficient enough since It’s just to give those sealed bearings some added protection in case of ingress. Then it’s was just a matter of fitting and torquing down the two lock nuts (keeping in mind the thread direction on each pedal), lightly sanding off some of the surface rust, and presto, we’re back in business!
Another quick side note before ending this entry — from the initial tests that I made, the Lazada bought Xike brand of bearings that I slapped on the left pedal is smooth as silk! May even give the stock bearings a run for its money. Obviously durability/reliability is still suspect for now, but hey, the early signs are good… and if it survives the next 6 months, then that my friend, is what you call a winner!
Anyway I want to end things with this: the vernier caliper is one of the best tools you can have in your arsenal. It’s so easy to get caught up with what the market offers or shoves down our throats, that we sometimes fail to realize that most brands don’t use proprietary components within their products — which means with a little research and know-how, you can use tools such as this to get the most out of your money.
